Care Guides
Cut Flower Care
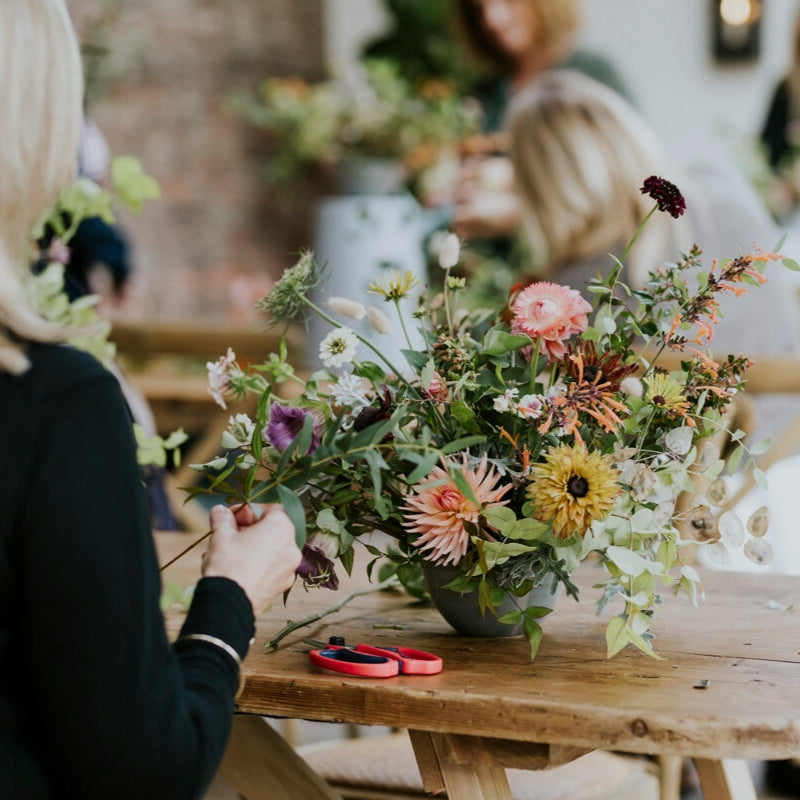
These guides are designed to help you get the most from your flowers. If you’re looking to send flowers in Edinburgh, you can browse our range of bouquets available for delivery.
Choose a suitable container for the height and type of flowers. This seems obvious but is one of the main reasons flowers do not thrive due to a lack of support and insufficient water. Make sure the container is spotlessly clean and fill almost to the top with cool fresh water.
If you wish to use it, add flower food. Flower food can help reduce the build up of bacteria, but you don’t need to use it, and we don't. It's better to simply ensure the water is kept clean and fresh (see below).
Strip all the leaves from the bottom half to two-thirds of each stem so that no foliage will be below the water level, this prevents decay which will contaminate the water and reduce the life of the flowers.
Re-cut all stems to the required length, at a sharp angle with sharp scissors or secateurs, this increases the cut surface area and helps with water and nutrient take-up. It also means that the stem base does not lie flat on the vase bottom, unable to take up water.
Some flowers are prone to bending, for example, tulips and stocks. To help straighten the stems, wrap the bunch in paper and stand them in deep water for several hours. Or just let them go their wild way!
Some flowers are prone to drooping, for example, poppy and hellebores. Placing the bottom 2-3cms of the stems into hot water (just off the boil) for 2-3 minutes may help. Drooping roses can sometimes be revived in the same way, re-cut their stems first.
Some flowers, such as daffodils and euphorbia release a milky sap which other flowers do not like. If you intend mixing them in a vase, cut them to the required length and place them on their own in cool water for 4-6 hours. Remove, do not re-cut the stems (this will release the sap again) and use in the mixed arrangement.
If you are trying to get stubborn flowers to open for a special event (lilies and peonies, for example, can take ages to open!) then re-cut the stems and place them in warm/tepid water, repeat every few hours and hopefully, they’ll bloom just in time for everyone arriving.
Do not hammer the base of woody stems as is sometimes suggested as this increases the chance of bacterial infection.
And then, for all flower bouquets and flowers already arranged in a vase for you do the following:
Check the water level frequently and top up as necessary, it's best to do so daily.
Every 2 or 3 days, re-cut the flowers, clean the vase and change the water, removing any flowers which are past their best.
Always place the flowers in a cool position away from direct sunlight, radiators and fires.
Plant Care
This is a general guide to get you started. Different types of plants do have different needs and if you want to widen your knowledge there are loads of excellent books out there on plant care. Also, Google is a great place to look up your specific variety.Over watering is the most common cause of unhappy plants! See General tips below
Foliage plants
• Average room temp
• Bright, indirect light. Variegated plants require brighter light. Some varieties can tolerate low light levels
• Keep soil moist but not wet. Likes humid air, mist regularly
Tip: Regularly clean leaves of larger leaved plants gently with a damp cloth, helps the plants thrive
Succulents & Cacti
• Happy at room temperature, can tolerate heat but prefer not to get cold
• Bright indirect light, some full sun for part of the dayTip : Allow the soil to dry out completely between wateringOrchids
• Prefer a warm room, ideally 18°c and above
• Bright indirect light, but keep out of direct sunlightTip : When flowers die back, keep the leaves healthy and it will flower again.
Ferns
• Happy at average room temperature, not too cold
• Prefer a shady position
• Regular watering required, keep the soil moist. Likes humid air, mist regularly.
Tip : Brown frond (leaf) tips indicate it needs watered more often. Remove broken and brown tips from the base.
Flowering Plants
• Average room temperature
• Prefers bright light and a sunny spot
• Regular watering and feed whilst flowering
Tip : nip out/dead-head wilting flowers to encourage new flowers.
String of hearts and pearls
• Average room temperature not too cold
• Bright indirect light, will tolerate some full sun
• Allow top of soil to dry out between watering
Tip : place on a shelf or window sill to allow the plant to trail
General tips
Warning signs you are over-watering – Leaves curl, yellow and wilt. Young leaves fall first.
Warning signs you are under-watering – Leaves are limp and wilted. Leaf tips turn brown and crisp.
Watering from base – Fill a sink or bowl with 5cms- 10cms of water, depending on the size of the plant and pot. For mini succulents and cacti a small plate may be big enough. Place the plant in its plastic in the water for an hour or so and allow it to soak up the water. Remove for the water and allow the plant to drain well before returning it to the decorative pot.
Misting- some plants like humid conditions and misting them regularly with water in a mister/sprayer helps increase humidity around a plant.
Pot size – Plants in smaller pots dry out faster than plants in larger ones so take this into account when deciding how often to water.
Feeding –When you have had a plant for a while or once it has flowered a few times it will have used up all the nutrients available from the soil in its pot. At this point you may consider feeding with a liquid plant feed or repotting your plant into a bigger pot with new, nutrient rich compost if it has outgrown its current pot (roots will start to grow out the top of the soil and out the drainage holes at the bottom of the pot)
Plant placement – This is trial and error. If a plant looks unhealthy although all its watering requirements are met, try moving it to a warmer or cooler room or try placing in a window with a different aspect. Grouping plants together is good, especially for plants who like increased humidity.
Pots with no drainage – Terrariums and ceramic pots are popular, where the plants are potted directly into the main vessel. Although a layer of stones will be in the base to help prevent the soil becoming water-logged it is important to water these arrangements sparingly and only when the top layer of soil feels dry to the touch. Misting may be enough rather than watering.
Candle Care
A few simple steps to get the most from your scented candle
Trim the wick to 5mm before lighting and relighting and avoid placing the candle in a draught. This ensures an even burn, prevents smoking and keeps the wax pool free from debris.
Allow the candle to become liquid across the entire surface by burning for a minimum time before extinguishing: for votives around 1 hour, medium candles around 2 hours and large candles around 3 hours. Over time this ensures all the wax is used.
The wick should be upright and in the centre, reposition if necessary soon after the candle has been extinguished and the wax has cooled slightly.
Burn the candle for a maximum of 4 hours at a time and for votives around 2 hours at a time.
Allow to cool and solidify then follow the steps above each time you re-light.
Keep candles away from children, pets and flammable materials.
Protect the surface on which the candle rests, never let the flame burn to the glass candle base and do not leave a burning candle unattended.